How to Choose the Right Touch Button Spring?
Choosing the right Touch Button Spring can determine whether a control feels precise or unreliable. The spring sits behind a small button, yet it manages force, travel, return speed, and electrical contact stability. In my experience, designers often focus on outer size first. That approach can create problems later. A spring may fit the housing but feel too stiff under a fingertip. It may also lose performance after repeated compression.
Small details matter. This guide examines the practical factors behind a dependable selection. These include operating force, free height, compressed height, stroke length, material, surface finish, and fatigue resistance. The correct choice should match the button design, circuit requirements, and expected usage environment. A laboratory switch and a dashboard control rarely need identical spring behavior. Do not guess.
Reliable selection also requires evidence. Review supplier drawings, force-displacement curves, tolerance data, and recommended operating limits. Prototype testing can reveal issues that a datasheet does not show, such as side loading, noise, uneven return, or a weak tactile response. A tidy specification can still fail in a real assembly. Test the spring with the actual button cap, housing, contact system, and mounting pressure. Fit matters.
Environmental conditions deserve attention as well. Humidity, dust, temperature changes, and frequent actuation can affect spring performance. Stainless steel may suit demanding conditions, while other materials may provide better conductivity or cost efficiency. However, material claims should be verified through technical documentation and application testing. By comparing measurable requirements with hands-on results, engineers can choose a Touch Button Spring that feels consistent, lasts longer, and supports safer product performance.
Identify Spring Type, Diameter, and Contact Geometry for Touch Buttons
How to Choose the Right Touch Button Spring?
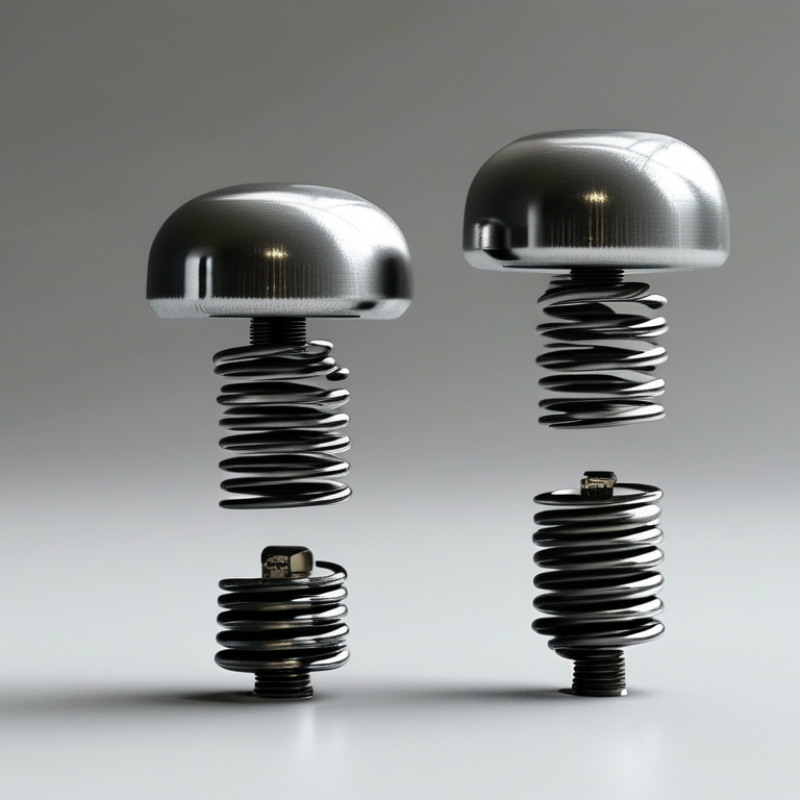
Choosing the right touch button spring starts with identifying its working type. Metal dome springs are common because they provide tactile feedback and return force. Circular domes suit compact, centered buttons. Four-leg designs can offer stable positioning and a reliable electrical path. Conical springs may provide a different collapse feel, but they need enough space for movement. The spring type should match the switch structure, PCB layout, and required actuation force.
Diameter affects both fit and performance.
Measure the contact area, housing opening, and available clearance before selecting a spring. A spring that is too large may scrape the housing or shift during assembly. A spring that is too small may miss the conductive pads.
Small details matter.
Check the spring’s free height, compressed height, and operating stroke. These dimensions influence button travel and long-term fatigue.
Contact geometry deserves careful attention. Center contacts support a single conductive pad, while multi-leg designs may contact several PCB areas. Keep the pad shape symmetrical when possible. Uneven geometry can create intermittent signals, especially when users press near the edge.
In practical testing, I would inspect several samples rather than trust one measurement. A drawing can look correct and still fail under repeated pressing. Dust, surface coating, and slight assembly offsets also deserve review. The first choice may not be the final choice.
Match Actuation Force to the 50–500 gf Range and User Interface Needs
How to Choose the Right Touch Button Spring?
Choosing a touch button spring starts with actuation force, measured in gram-force (gf). The practical range is 50–500 gf. A 50–120 gf spring suits light controls, such as menus, sensors, and compact handheld interfaces. It needs little finger pressure. However, accidental activation becomes more likely.
A 150–300 gf spring often fits general-purpose panels, appliances, and equipment controls. It provides clearer tactile feedback without causing rapid finger fatigue. For industrial interfaces or buttons used with gloves, 350–500 gf may be more suitable. The stronger return force can reduce unintended presses. It may feel harsh on small buttons, though.
Test the spring with the complete button assembly, not alone. Housing friction, cap size, travel distance, and rubber surfaces can change the perceived force. Measure activation at several points during production testing. A force gauge helps reveal tolerance shifts between batches.
I once focused too heavily on peak force. The release feeling was overlooked. Users noticed the uneven reset more than the initial press. That mistake showed why interface testing must include repeated presses, different finger angles, and long operating sessions. A smooth force curve usually matters as much as the stated gf value. Build a small prototype, record user feedback, and adjust gradually. Human preference is difficult to predict from specifications alone.
Select Travel and Snap Ratio Near the 0.1–0.5 mm Industry Range
How to Choose the Right Touch Button Spring?
Travel is the first practical measurement when selecting a touch button spring. For compact controls, 0.1–0.5 mm is a widely used industry range. Short travel creates a crisp response. Longer travel feels softer and reduces accidental activation.
Snap ratio needs careful interpretation. It is normally expressed as a percentage, not millimetres. Engineers often compare operating force with return force to judge tactile sharpness. A higher ratio can create a stronger click, but excessive snap may increase noise and finger fatigue. IEC 61058-1:2016 evaluates switch endurance, temperature performance, and electrical reliability. These tests show why travel alone cannot define quality. A spring may feel excellent on day one, then lose consistency after repeated compression.
Use a force-travel graph, not only a catalogue number. During testing, press the spring slowly with a calibrated gauge. Record the peak force, release force, and actual travel. Check samples at room temperature, then repeat after heat and humidity exposure. ISO 9241-9 also supports evaluating physical input comfort through force, feedback, and repeated use. I would question any specification that gives a “snap ratio” without its formula. That detail is easy to overlook. A 0.2 mm travel spring may suit a sealed control, while a 0.5 mm version may feel clearer under gloves. The correct choice depends on force, enclosure space, noise limits, and expected cycle life.
How to Choose the Right Touch Button Spring? - Select Travel and Snap Ratio Near the 0.1–0.5 mm Industry Range
| Spring Profile |
Typical Travel
(mm) |
Snap Ratio
(Typical) |
Operating Force
(N) |
Return Force
(N) |
Recommended Use |
Selection Guidance |
| Short-Travel Dome |
0.10–0.18 |
0.10–0.20 |
1.0–2.5 |
0.35–0.90 |
Compact keypads and low-profile control panels |
Choose when limited panel height and a light, quick response are more important than a pronounced tactile feel. |
| Balanced Tactile Dome |
0.18–0.28 |
0.20–0.30 |
1.5–4.0 |
0.55–1.40 |
Handheld devices, membrane interfaces, and instrument controls |
A practical starting point for clear tactile feedback with moderate actuation force. |
| Standard Tactile Dome |
0.25–0.35 |
0.30–0.40 |
2.5–6.0 |
0.90–2.10 |
General-purpose push buttons and industrial user interfaces |
Use when the design needs a noticeable snap, reliable contact closure, and comfortable feedback. |
| Long-Travel Dome |
0.35–0.50 |
0.40–0.50 |
4.0–8.0 |
1.60–3.20 |
Gloved operation, rugged controls, and high-feedback panels |
Select when users need more physical confirmation and the enclosure can accommodate greater travel. |
| High-Force Dome |
0.20–0.40 |
0.25–0.45 |
6.0–12.0 |
2.10–4.80 |
Accidental-activation-resistant controls and heavy-duty interfaces |
Use only when the panel, actuator, and mounting structure are rated for the higher force. |
Technical note: Travel is the actuator movement from the initial position to the electrical switching point. Snap ratio is commonly expressed as
(peak force − return force) ÷ peak force.
Actual values vary with dome diameter, material, forming geometry, actuator design, contact load, and mounting conditions. Validate the selected spring through force-travel and life-cycle testing in the final assembly.
Verify Material, Plating, and Contact Resistance Below 100 mΩ
How to Choose the Right Touch Button Spring?
Verify Material, Plating, and Contact Resistance Below 100 mΩ
A touch button spring needs more than a suitable diameter. Its base material controls force stability, fatigue life, and electrical behavior. Copper alloys usually provide better conductivity, while stainless steel offers stronger mechanical recovery. Review the supplier’s material certificate, hardness range, and spring-force curve. Do not trust appearance alone.
Plating deserves closer inspection. Nickel can improve corrosion resistance, but its contact performance may vary after repeated compression. Gold provides a more stable interface, especially in low-current circuits, though thickness and adhesion remain critical. IEC 60512-2-1 describes contact-resistance measurement methods, while EIA-364-23C supports controlled electrical testing. These standards make supplier comparisons more reliable.
Set an initial target below 100 mΩ. Then test after mechanical cycling, humidity exposure, and temperature changes. Use a four-wire measurement fixture where possible. A two-wire meter may include cable and fixture resistance. That can hide the real result. Ask for raw readings, test current, cycle count, and environmental conditions. A spring measuring 42 mΩ at room temperature may exceed 100 mΩ after oxidation or wear. I would also question unusually perfect data. Real production lots show variation, and ignoring it creates risk. Small details matter.